Featured Project: Installing Gas Shocks on Boats
July 28, 2022 6 min read


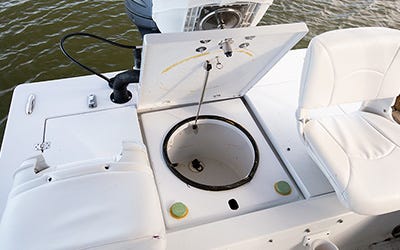
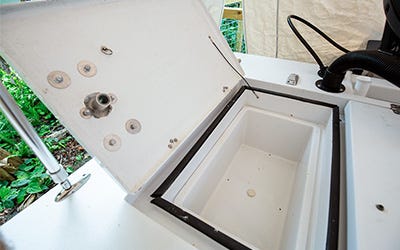
This project boat, an older Andros Backwater 18, was purchased from the previous owner with no hatch supports of any kind. It has a single large hatch in the forward deck with dry storage beneath and three hatches across the back deck. The center aft hatch opens toward the stern to access the live well. The port and starboard aft hatches open outward toward the gunwales to access removable storage tubs. The tubs can be removed for bilge access. The forward hatch and three aft hatches are thick and heavy. All are fitted with 180-degree Gemlux hinges.
First Steps
Initially, we added gas shocks to the live well lid and the forward dry storage hatch.
Getting bait from the well required either holding the heavy hatch with one hand and netting bait with the other, or leaning the lid against the outboard cowling.
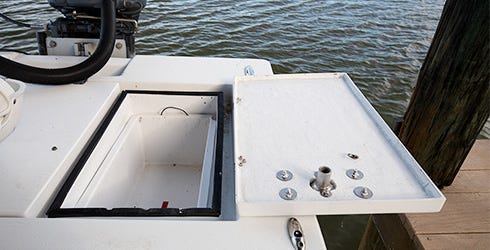

The forward hatch was a potential hazard to children and did in fact slam shut accidentally a few times — fortunately not on a finger, arm or head. Both modifications improved usability significantly — especially for the live well.
Improving Overall Comfort
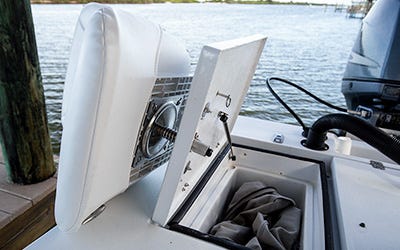
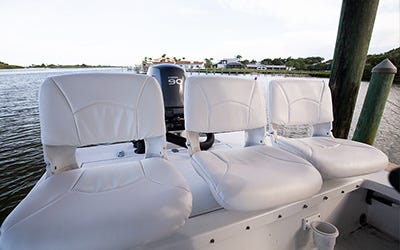
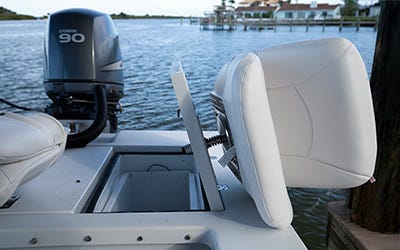
Later, to improve overall comfort, three Tempress folding seats on 3/4” pin mounts were added to the aft deck — one on each hatch lid. Together with the mount, each seat added around 15 lbs. to the already heavy hatches.
With the added weight, the 30 lb. gas shock on the live well was unable to hold the lid open. The port and starboard hatches also required more effort to open with the extra weight. Plus, the seats prevented the hatches from opening past 90 degrees, leaving them precariously balanced when open and in danger of accidentally slamming closed.



Planning for Gas Shocks on the Aft Hatches
It quickly became clear that the port and starboard aft hatches had to be supported somehow.
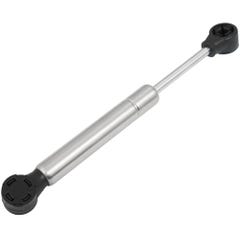
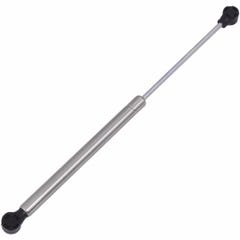
Because of their weight, opening them required significant effort, so we chose to use gas shocks to assist in lifting them.
One concern in figuring out the installation was keeping the shocks out of the way as much as possible.
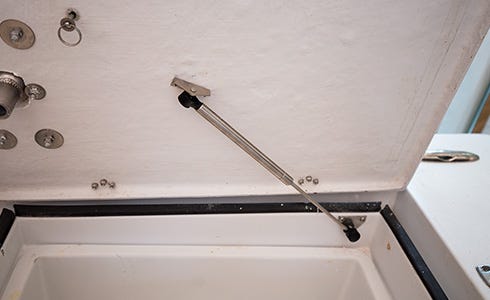

We didn’t want them to impede access to the hatch from either the front or the back, since gear is often loaded or unloaded from the back when the boat is on the trailer.
Additionally, we knew we’d have to do some trimming on the removable tubs to be able to lift them out with the gas shocks in place, but we wanted to keep it to a minimum.
We settled on a “diagonal” orientation, with the shocks reaching from a corner of the compartment to a point near the middle of the underside of the hatch.
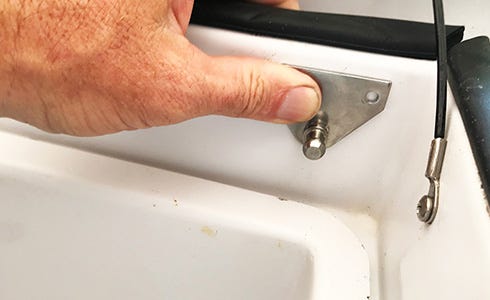

That would keep the shocks close to the lid and out of the way when the hatch was open, minimize modifications to the storage tubs, and place the lifting force of the shock near the middle of the hatch.
Determining Force and Length
We measured carefully for length, making sure that our planned mounting locations would leave enough room for the compressed shock when the hatch was closed. Unless you can get inside your hatch, this is difficult to do precisely. With a square and a pencil, though, you can get a good idea. Then give yourself at least a half inch of cushion.
The internet is loaded with formulas to calculate the amount of force needed for a gas shock. In this case, we simply used common sense. The previously installed 30 lb. shock on the live well wasn’t nearly strong enough with the seat in place. The only other choices in the length of shock we needed were 40 and 60 lbs., so we went with 60 lbs.
We measured carefully for length, making sure that our planned mounting locations would leave enough room for the compressed shock when the hatch was closed.
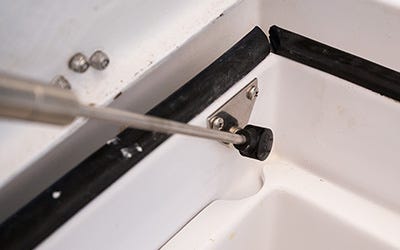
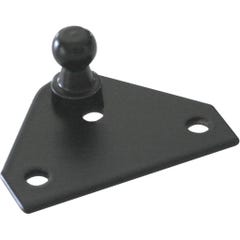
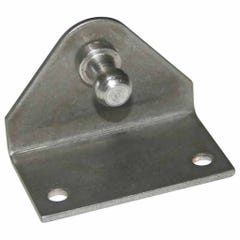
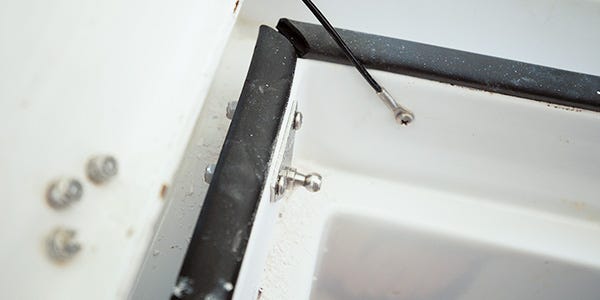
At the bottom attachment, the post and ball needed to be perpendicular to the mounting surface, so we chose a flat mounting bracket. At the top, the post and ball needed to be parallel to the surface. Either a forward angle or reverse angle bracket would have worked, but we chose a reverse angle, reasoning that having the ball more or less in line with the screws would subject them to less torque.
Installing the Gas Shocks
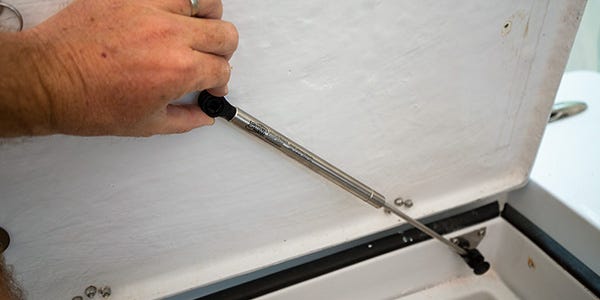
We started with the bottom bracket, which needed to go in a specific location, and through-bolted it through the solid fiberglass lip around the opening of the compartment. Then we snapped the bottom end of the shock onto the bottom bracket and re-checked the location of the top bracket on the underside of the hatch. We chose an open hatch position just barely short of 90 degrees.
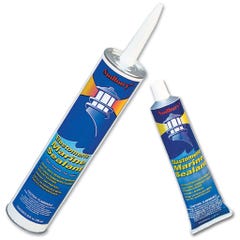
To avoid screw heads showing on the top of the hatch, we attached the top bracket to the underside of the lid with #10 self-tapping screws and 3M 4200. If that ever fails, through-bolting is always an option. On the bottom bracket, where adhesion wasn’t important, we used BoatLife Life Calk to bed the bracket and seal the fastener holes. 3M 4000UV is another good choice for bedding and sealing where adhesion isn’t necessary.
The drop-in storage tubs did in fact have to be trimmed some to fit over the lower ends of the shocks, but it was an easy 10-minute job with a rotary saw, sandpaper and white epoxy paint.


Problem Solved
The 60 lb. shocks turned out to be the right choice, “taking over” and lifting the hatch by themselves after the first 30 degrees or so, then holding it firmly open. At the same time, they allow the hatch to close securely. Since the hatches do not latch, it was important that they not be too “light” when closed. Replacing the old 30 lb. shock on the live well lid with a 60 lb. shock of the same length took care of that issue. The result is a boat that’s not only more usable and more comfortable but also safer.
The result is a boat that’s not only more usable and more comfortable but also safer.
